Official Site® | Ledgér.com/Start® | Getting Started — Ledger®
In the age of digital assets and decentralized finance, managing cryptocurrency securely is essential. While online wallets and exchanges offer convenience, they don’t always offer the highest level of security. That’s where Ledger® steps in — with trusted hardware wallets that provide maximum protection for your digital wealth. Whether you’re a first-time user or a seasoned investor, getting started the right way is critical.
The official onboarding experience, accessed by typing Ledgér.com/Start® into your browser, is the recommended and secure path to begin setting up your Ledger® hardware wallet. In this article, we’ll walk you through every step of the setup process, highlight essential security tips, and explore key features you can expect from Ledger® devices — without including any external links.
What Is a Ledger® Hardware Wallet?
Ledger® hardware wallets are physical devices designed to store private keys offline. Unlike software wallets that are connected to the internet (and are therefore more vulnerable to hacking or malware), Ledger® devices keep your private keys in a secure, isolated environment.
Ledger® currently offers two top-tier models:
- Ledger Nano S Plus™ — A reliable choice for those getting started, with enhanced storage capacity and support for thousands of cryptocurrencies.
- Ledger Nano X™ — Advanced features including Bluetooth connectivity, ideal for managing your crypto securely from mobile devices.
Both devices use industry-leading security architecture and are built to give users complete control over their digital assets.
Unboxing Your Ledger® Device
When your Ledger® wallet arrives, ensure that the package is sealed and untampered with. Inside the box, you’ll find:
- The Ledger® hardware device
- A USB-C (or micro-USB) cable
- Recovery phrase sheets
- Quick start guide and safety instructions
- A keychain strap (optional)
Never use a device that appears used or pre-configured. A secure setup must begin with a factory-sealed wallet.
Step-by-Step Setup Process
Once your device is unboxed and ready, turn it on and follow the instructions on-screen. The official site (Ledgér.com/Start®) offers the full onboarding guide. Here’s an overview of what to expect:
Step 1: Install Ledger Live®
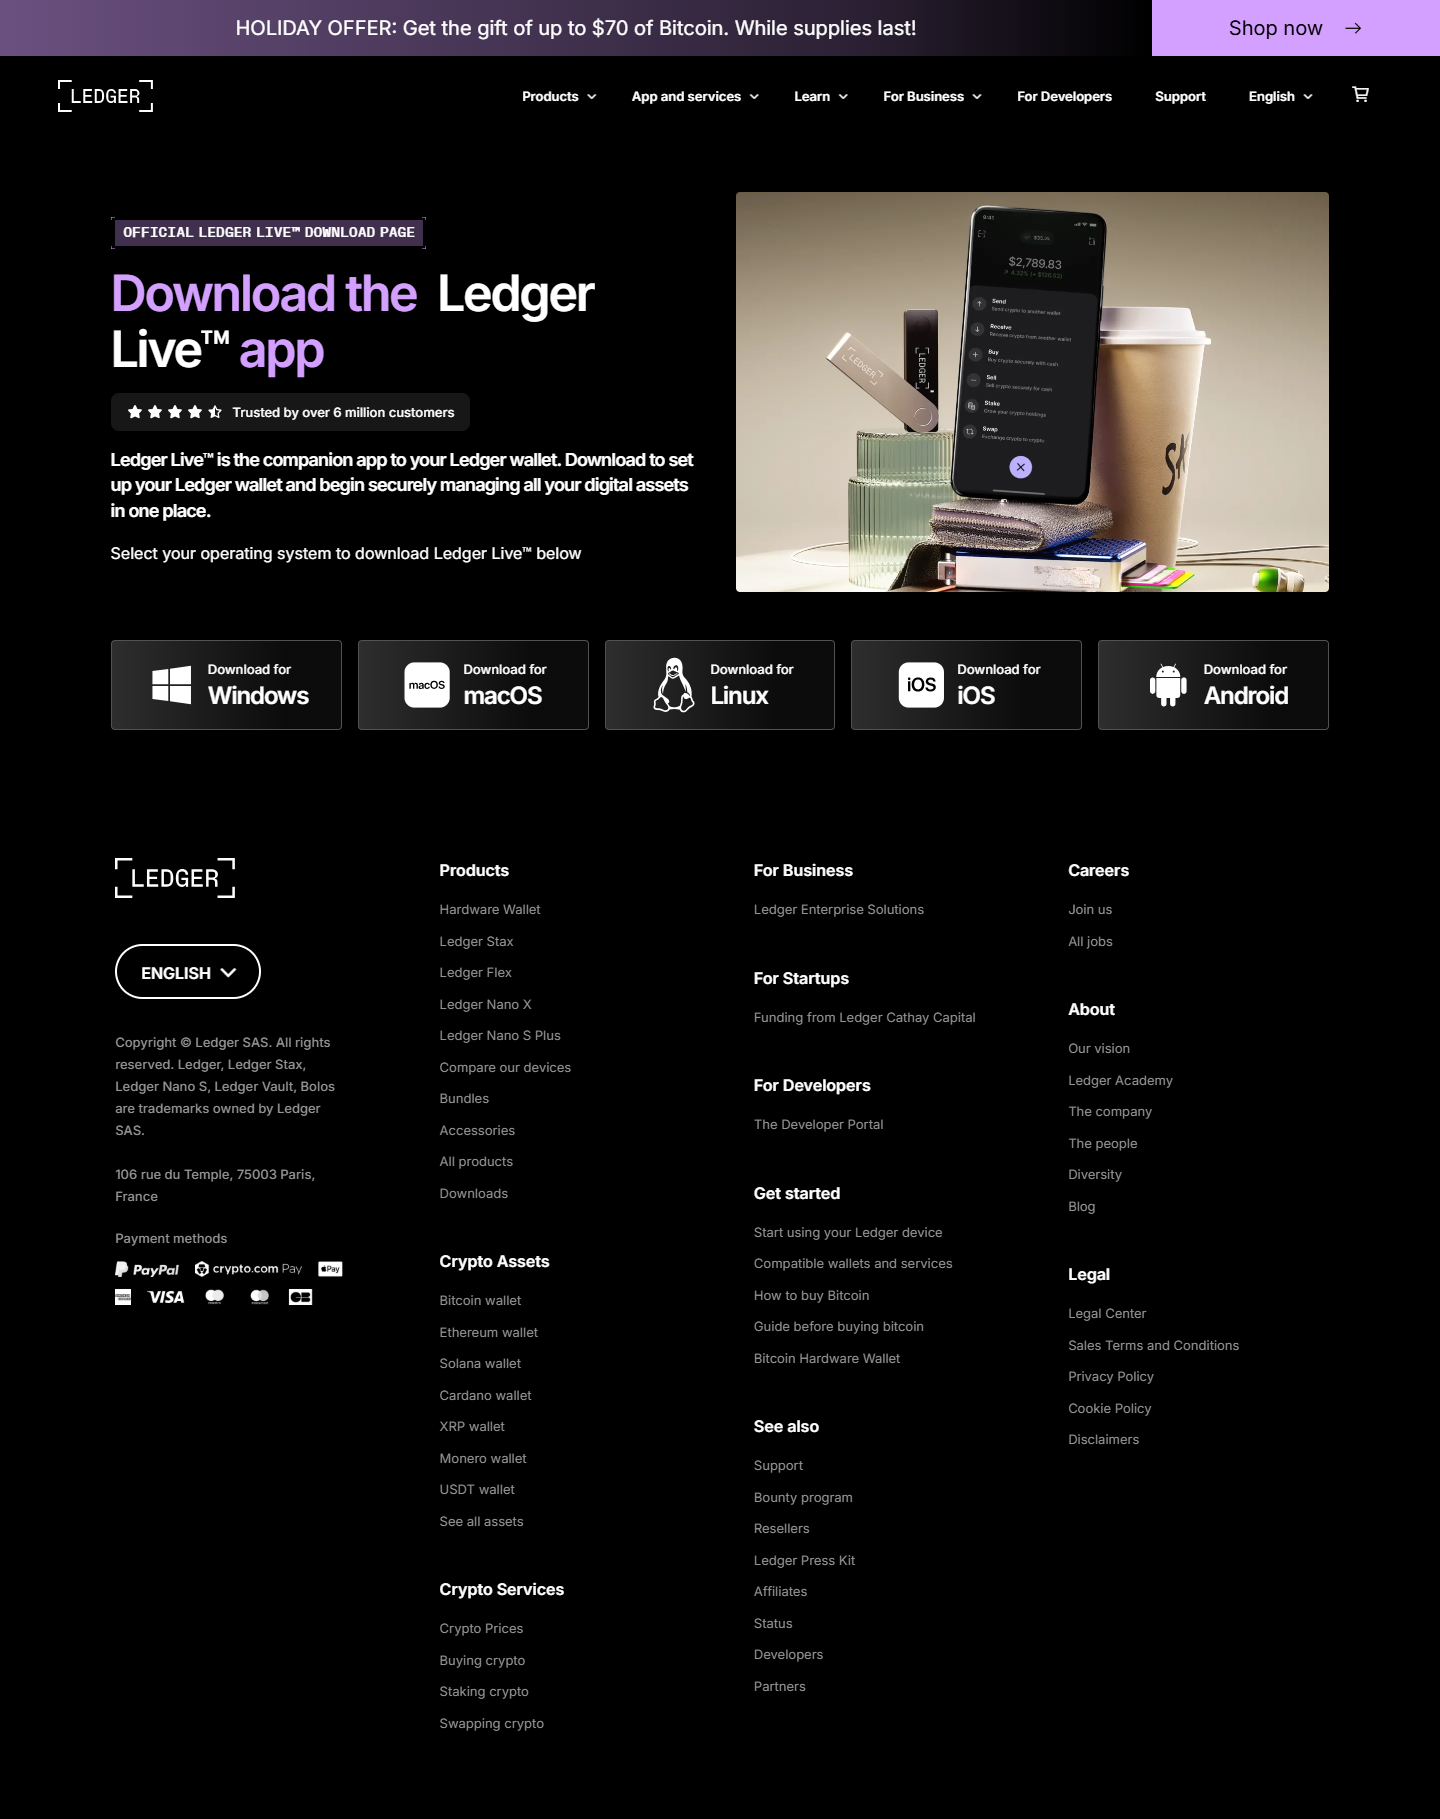
Ledger Live® is the official desktop and mobile app for Ledger® devices. This app allows you to install cryptocurrency applications, send and receive tokens, view balances, and more. Once installed, select the option to “Set up a new device.”
Step 2: Set Up Your Device
You’ll be guided through several steps on the physical device itself:
- Create a secure PIN code: This protects your device if lost or stolen.
- Write down your 24-word recovery phrase: This is your only backup. It allows you to recover your funds if the device is lost or damaged. Never take photos of it or store it online.
Step 3: Confirm the Recovery Phrase
Your device will ask you to confirm your recovery phrase by selecting the words in order. This ensures it was copied correctly. Anyone with access to this phrase can access your funds — so treat it with extreme care.
Step 4: Install Cryptocurrency Apps
Return to Ledger Live® to install apps for your preferred cryptocurrencies. Popular options include Bitcoin, Ethereum, Solana, XRP, and thousands more. Each supported crypto requires its own app to be managed with Ledger®.
Ledger® Security Highlights
Ledger® devices are designed with multiple layers of protection to give users the highest level of security:
- Secure Element (SE) chip — The same kind of chip used in passports and credit cards.
- BOLOS Operating System — A unique OS developed by Ledger® that isolates each crypto app from the others.
- Offline Key Storage — Your private keys never leave the device or connect to the internet.
- Two-Factor Verification — All transactions must be physically approved on the device screen.
What Cryptos Can You Store?
Ledger® supports over 5,000 digital assets, including:
- Bitcoin (BTC)
- Ethereum (ETH)
- Binance Coin (BNB)
- Litecoin (LTC)
- Cardano (ADA)
- Solana (SOL)
- XRP, and many more
It also supports NFTs, DeFi applications, and staking for several blockchains directly within the Ledger Live® interface.
Best Practices for Long-Term Security
To make the most of your Ledger® wallet, keep these tips in mind:
- Never share your recovery phrase. Not with anyone — ever.
- Store your recovery sheet securely. Consider using a metal backup that’s fireproof and waterproof.
- Buy your Ledger® only from the official site or authorized retailers.
- Keep firmware and Ledger Live® updated. This ensures you’re protected against newly discovered vulnerabilities.
- Enable additional passphrase protection. Advanced users can add a 25th word for another layer of security.
Losing Your Device — What Happens Next?
If your Ledger® device is lost, damaged, or stolen — your funds are still safe. As long as you have your 24-word recovery phrase stored securely, you can recover your wallet on a new Ledger® device at any time. However, if the recovery phrase is lost, access to your assets is permanently gone.
Conclusion
Setting up your Ledger® hardware wallet through the official setup portal is the safest way to begin your crypto journey. With powerful security features, wide asset support, and a strong reputation in the industry, Ledger® empowers users to take full ownership of their digital finances. Whether you're holding long-term, exploring DeFi, or managing NFTs, your crypto is safer in your hands — with Ledger®.
Your financial future starts with one simple yet powerful step: taking control. Start securely. Stay protected.